
Window Leaks: Why Flashing Fails and How to Fix It Properly
Why windows leak into walls, why sealant is never the answer, and what correct window flashing looks like in a Newcastle home.
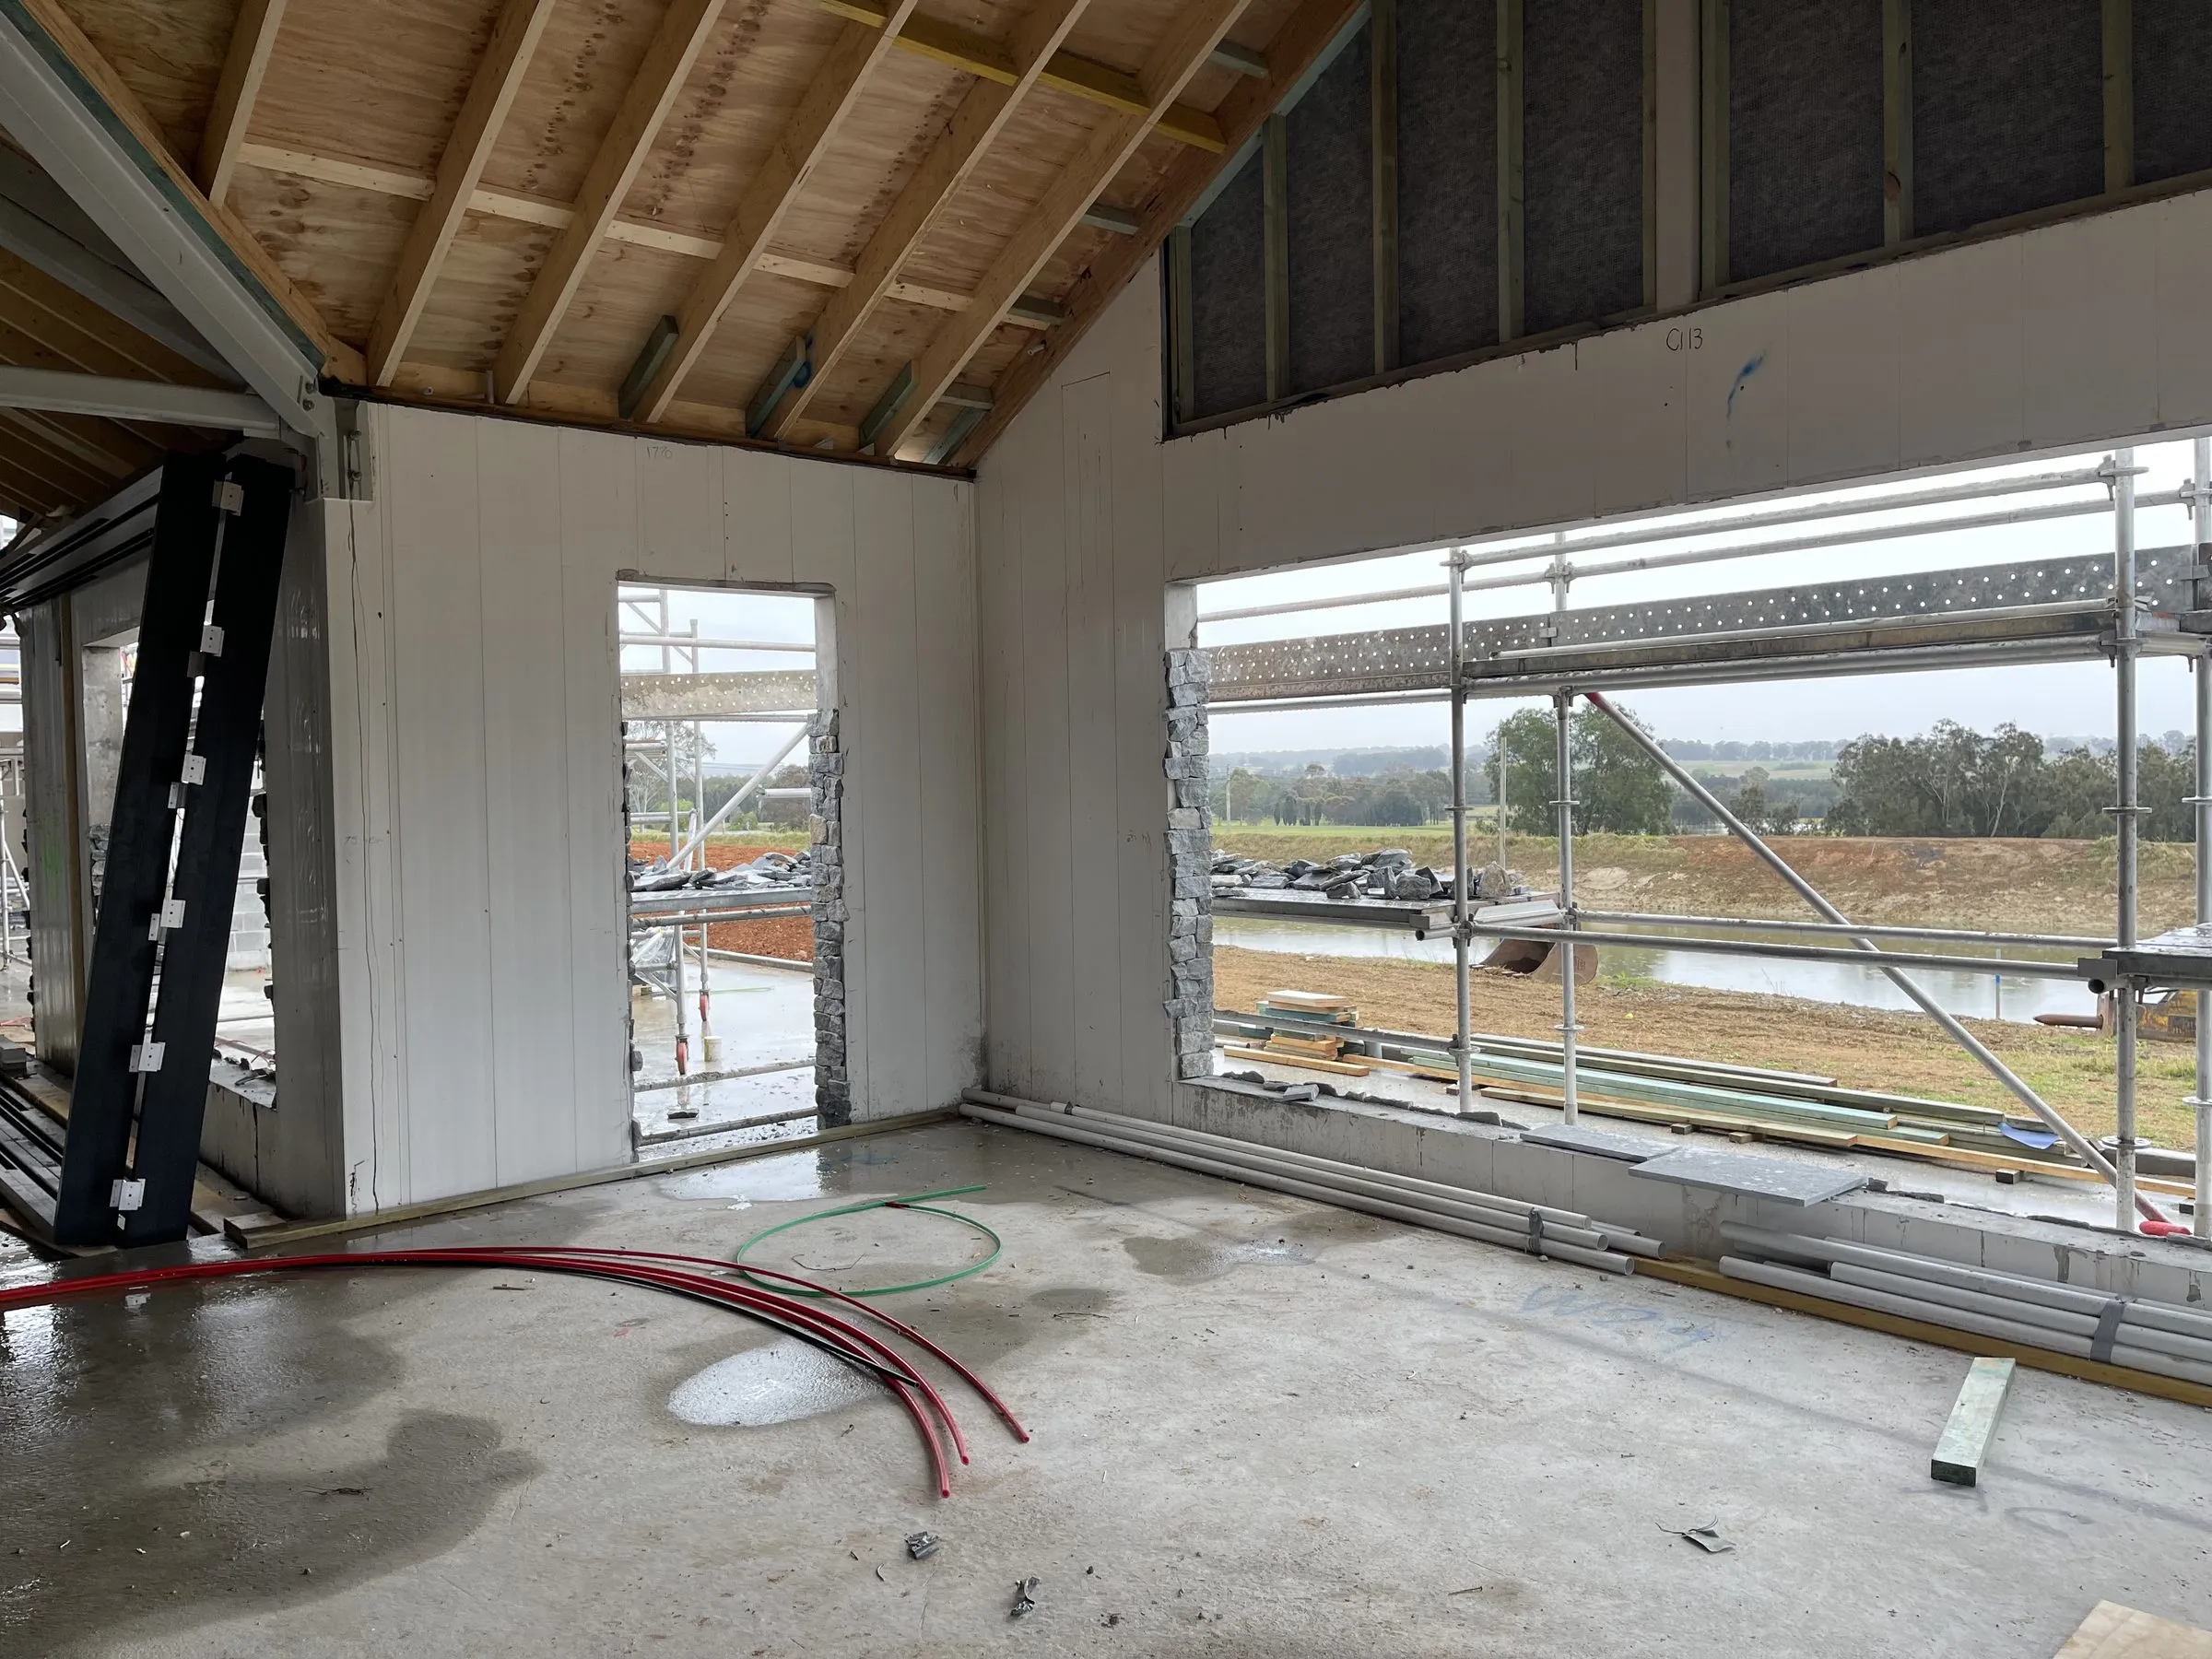
A leaking window is rarely a leaking window. It is almost always a flashing problem, and the water is entering somewhere other than where it appears.
How windows are meant to shed water
A correctly installed window relies on layered flashings, not on sealant. The principle is the same as roof tiles: each layer laps over the one below so water runs down and out.
Sill flashing goes in first, under the window, turned up at the ends and sloped outward so any water reaching it drains out over the cladding.
Jamb flashings lap over the sill flashing at the bottom.
Head flashing goes over the top, lapping over the jambs, with ends turned down, and it must direct water out over the face of the cladding rather than behind it.
The sarking is then dressed to lap correctly with each of these. Done properly, water that gets behind the cladding runs down the sarking, over the head flashing, past the window and out at the base.
Why sealant fails
Sealant is a maintenance item with a life of maybe 5 to 10 years, and it is being asked to hold back water permanently.
Worse, sealant applied around a window that lacks proper flashing traps water. It gets in through a small failure and cannot get out. The wall stays wet.
If someone proposes fixing a leaking window by running a bead of silicone around it, they are buying you a couple of years and making the eventual damage worse.
Where the water actually enters
The head. Most common. No head flashing, or a head flashing that turns the wrong way and directs water behind the cladding.
Corners of the sill. The sill flashing must be turned up at the ends to form a tray. Cut and folded incorrectly, the corners leak.
Above the window, metres away. Water entering at a roof or upper wall junction, running down inside the cavity and appearing at the first obstruction, which is the window head.
The cladding junction. Where the reveal meets the cladding, if the cavity is bridged.
Diagnosing it
Hose test, methodically. Start low and work upward, wetting one element at a time for several minutes, with someone watching inside. Starting at the top tells you nothing, because you cannot tell where it entered.
Look at the timing. A leak that only appears in driving rain from one direction points to a wind-driven entry on that elevation. A leak that appears in any rain is a more fundamental failure.
Open it up. Sometimes the only way to know is to remove a section of cladding above the window and look at the flashing.
Fixing it properly
The correct repair is to remove enough cladding to access the flashings, install them correctly with proper laps to the sarking, and reinstate the cladding.
This is more work than sealant. It is also permanent.
On older homes with no sarking at all, this is the opportunity to add it around the openings, which is where it matters most.
Cost
- Investigation and hose testing: $400 to $900
- Rectifying flashing on a single window: $1,500 to $4,000
- Multiple windows during a recladding job: marginal additional cost
That last point matters. If you are recladding anyway, correct flashing is a small part of the total. Doing it as a standalone repair is proportionally expensive because of the access.
Prevention on new work
Ask your builder to photograph the flashings before the cladding goes on. Any good builder will do it without being asked. It gives you a record and it means someone looked.
We install windows and rectify flashing failures across Newcastle and the Hunter, and we photograph the flashing on every job before it gets covered.
More building advice
Why Your Eaves Keep Rotting and How to Actually Fix It
The real causes of rotting fascia and sagging eaves on Newcastle homes, and why repainting or replacing the timber alone never solves it.
Why a Drainage Cavity Behind Cladding Matters So Much
How rainscreen cladding works, why water always gets behind the skin, and what happens to a wall frame when there is nowhere for it to go.
External Cladding Types Compared for Newcastle Homes
Fibre cement, weatherboard, timber, composite and brick veneer compared on cost, maintenance and suitability for Newcastle and coastal Hunter conditions.